Your screws are loose! No silly…..your screws are actually loose. How do you fix that? You could use bigger screws so that when tightened the threads are bigger and are able to grab the wood or you could use the same screw. Old timers would use hardwood toothpicks. You can cut them down in size and stick a couple of pieces in the hole. When you tighten the screw the wood jammed in the hole will be pushed against the old threads and the screw will tighten. No toothpicks? Find whatever you think will work and stick it in the hole. Here we used a pink zip tie. Seemed to work just fine!


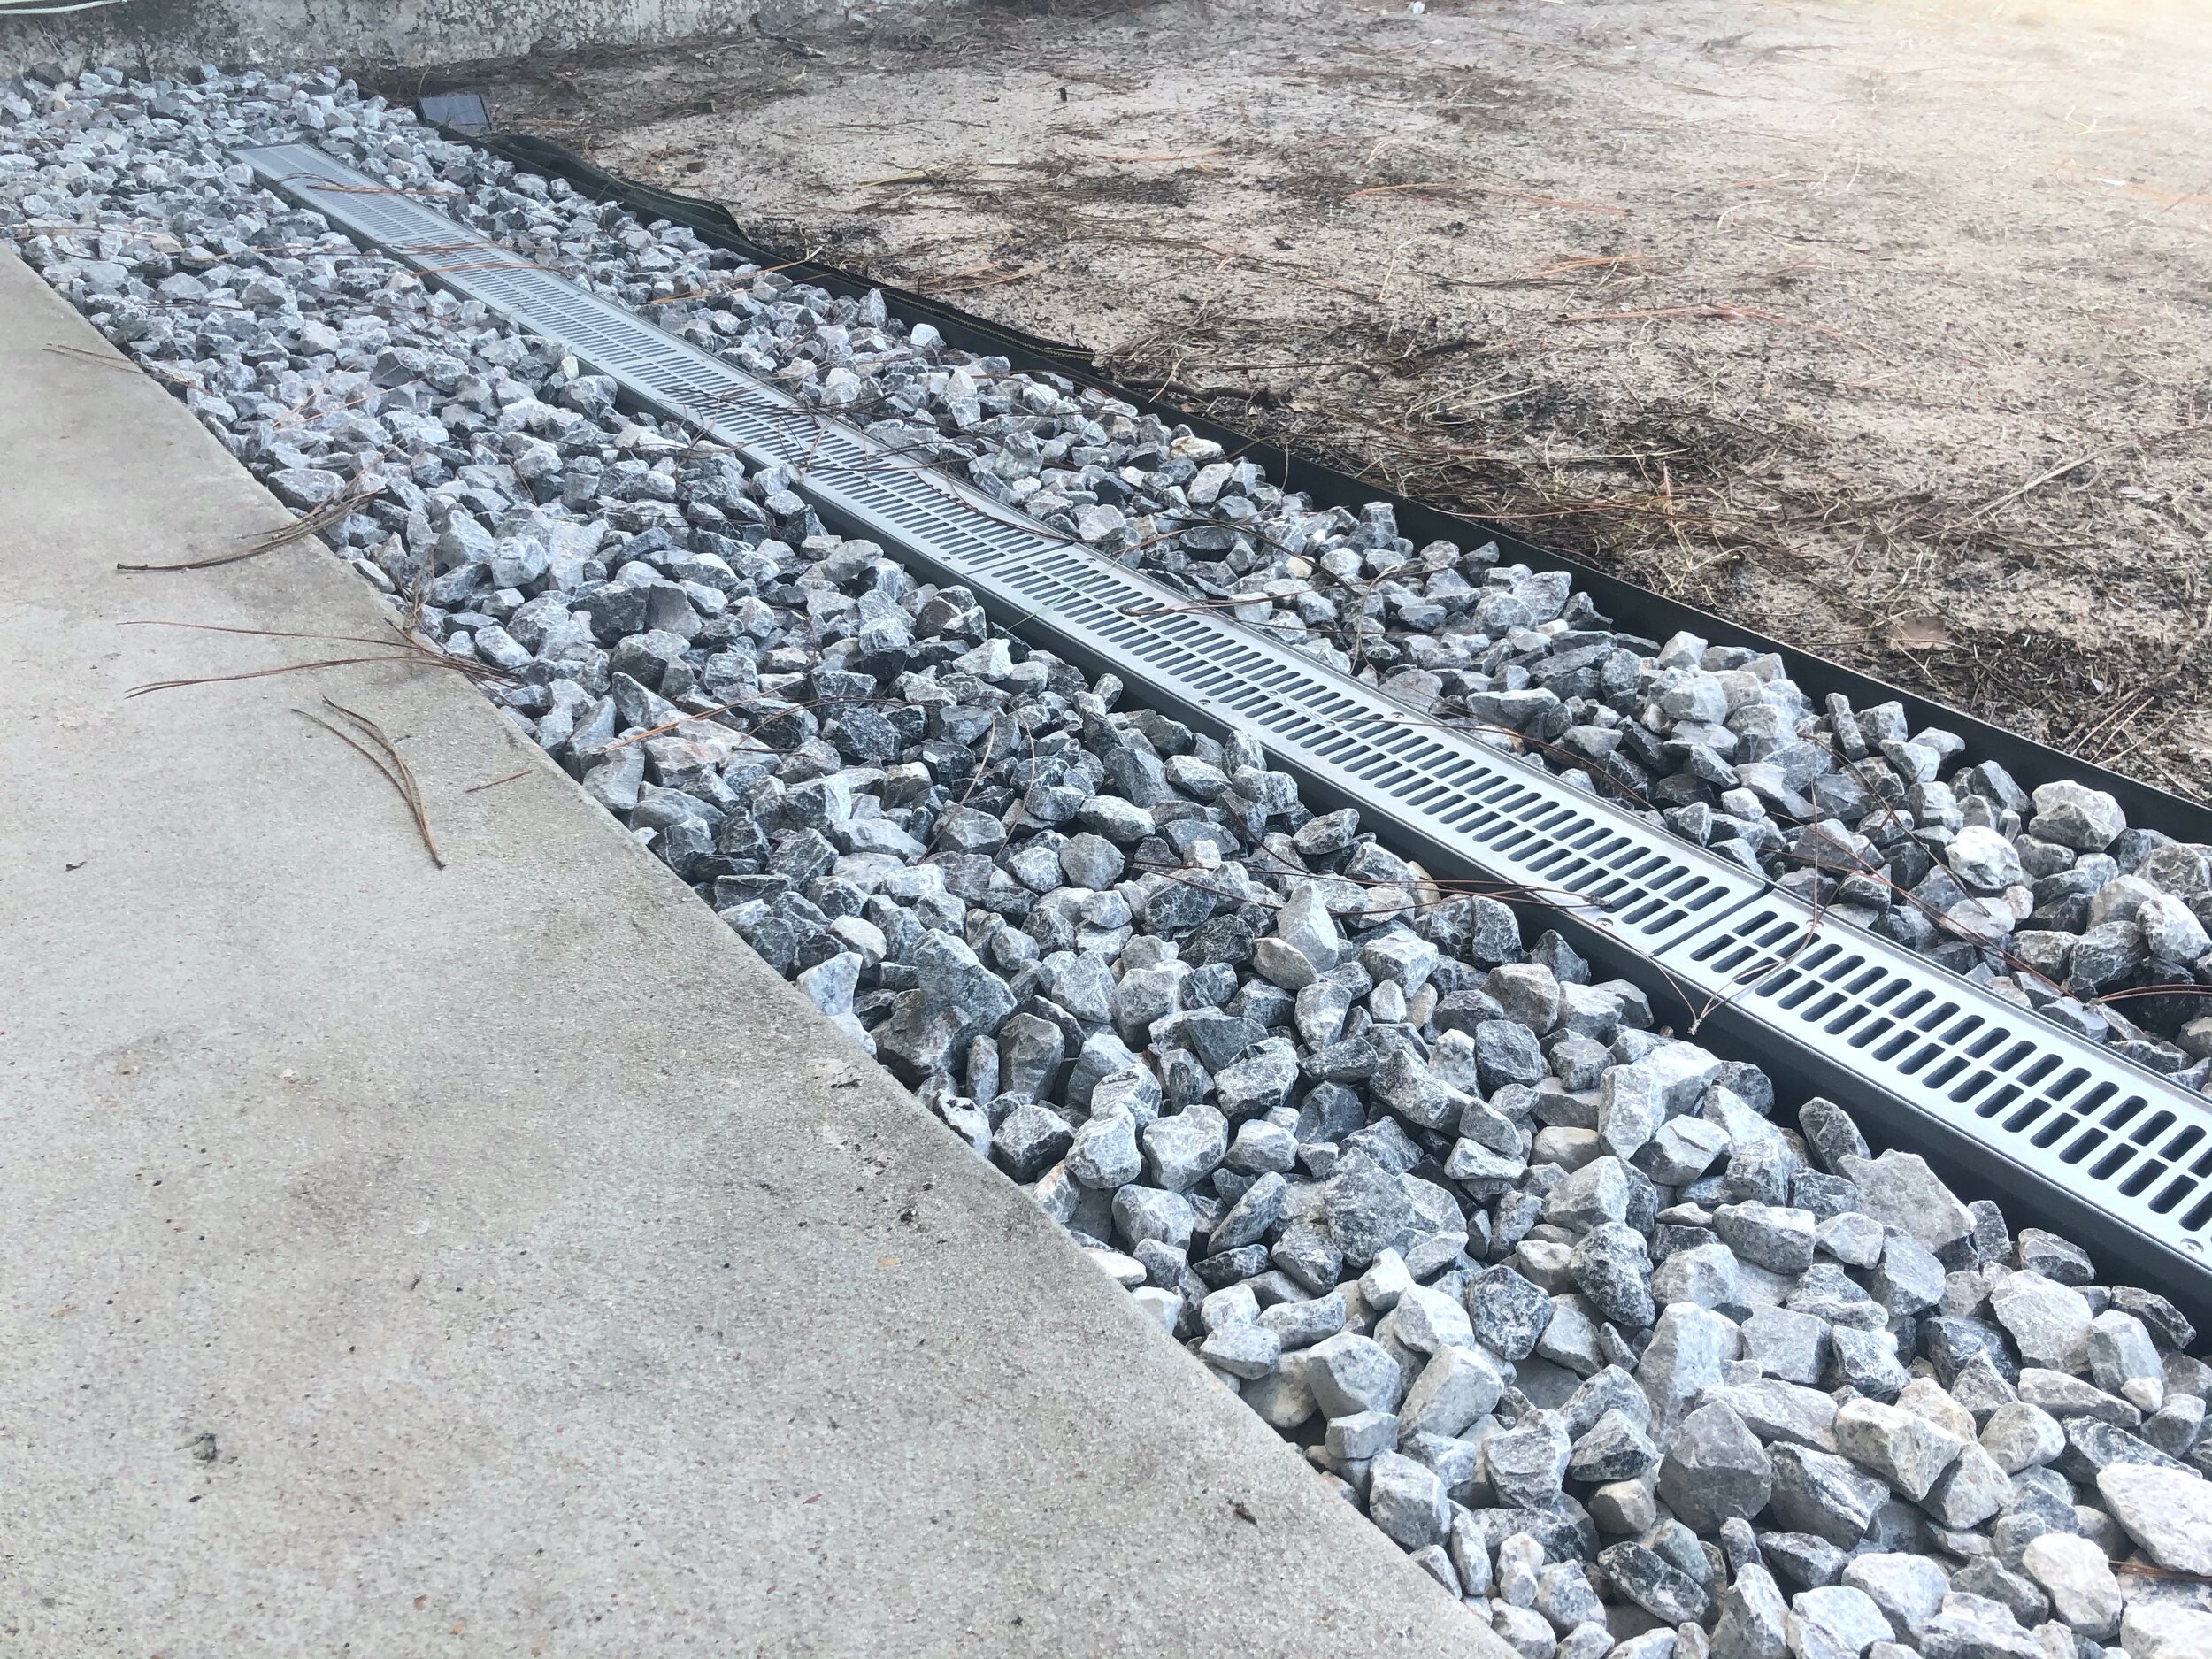
French Drains vs Gutters
Deciding between installing gutters or a french drain with exits on the drip line from the roof? It’s simple really. You need to think about what will happen in the future. When, not if, the gutter fails so does part of your structure depending on how long the leak has occurred on the siding and facia. If the in ground drain fails it doesn't harm the structure. So when gutters fail you are paying for the gutter repair and the structure repair. When a french drain fails you are only paying for a french drain repair. Your #1 enemy of any structure in the South is water and moisture so why would you keep water on the structure directing flow away from it? Wouldn't you want the water off the structure ASAP? It all depends on the situation really. Here we have a french drain where rain falls off the roof directly into the drain then directed away from the structure in the ground to a lower elevation. Cheers!

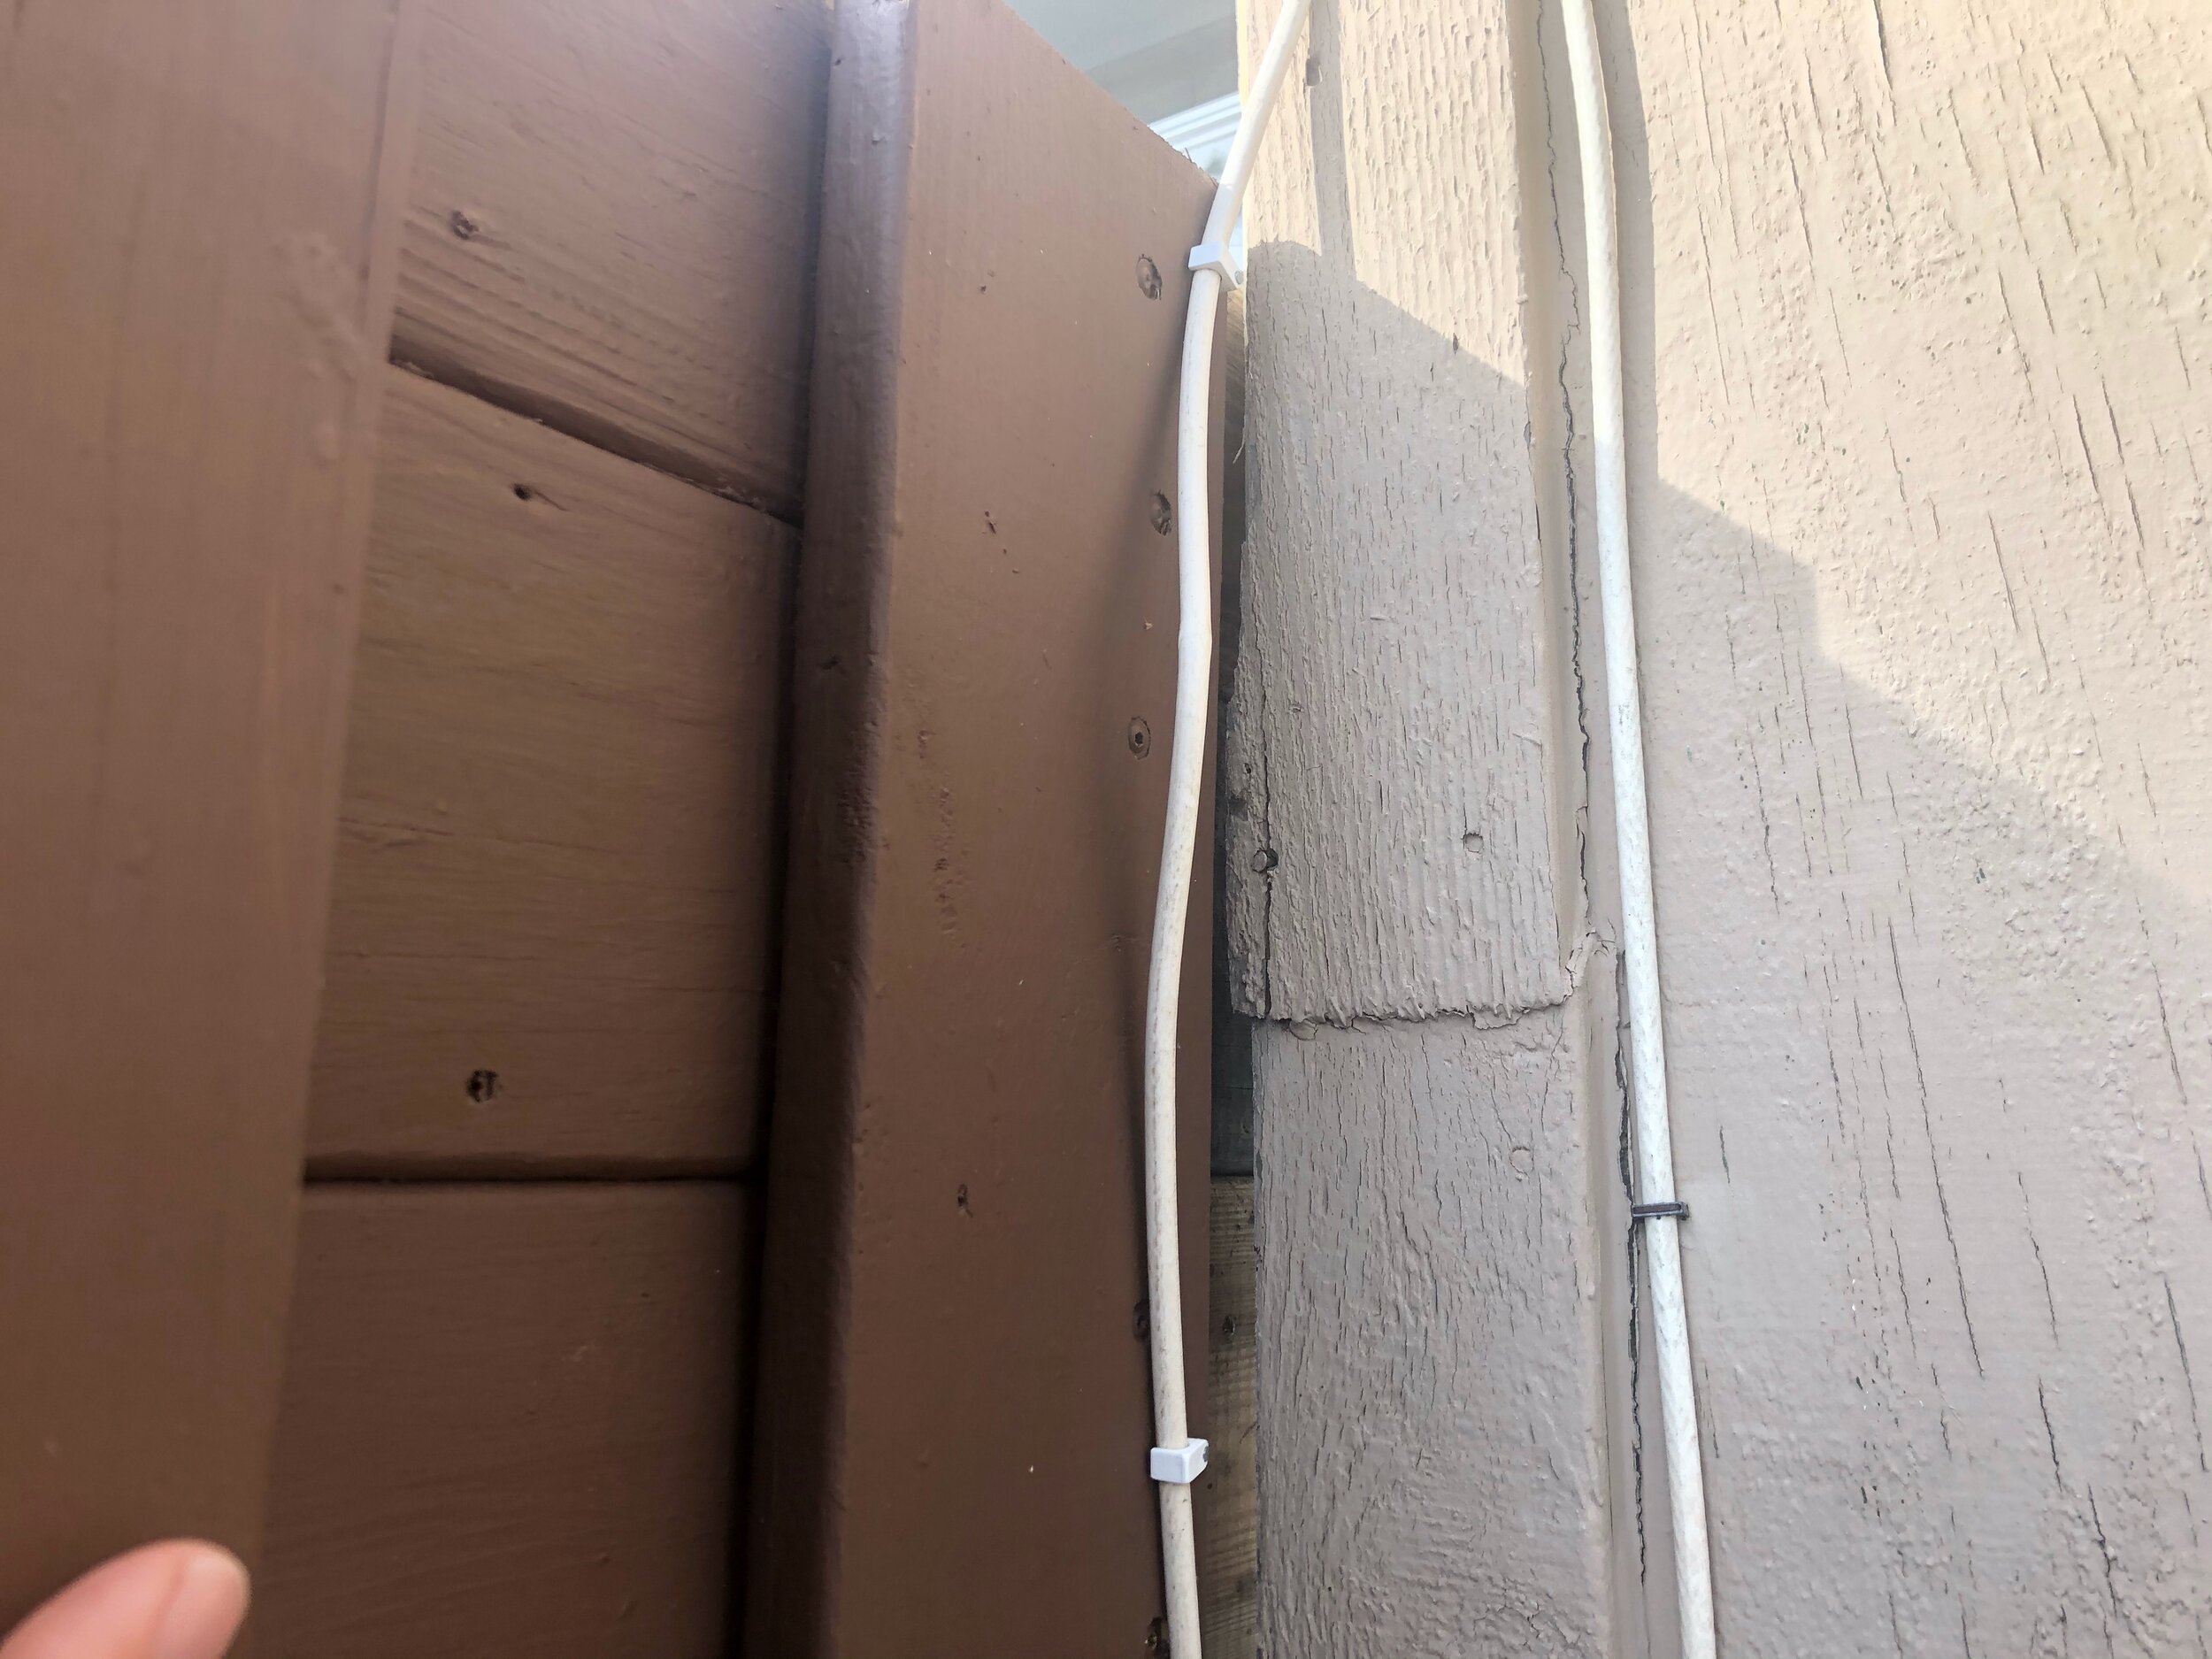
Mr. Carpenter Bee
So that fence isn't covered because some loophole in your insurance. It wasn't attached to the house! Stupid loopholes. Well here is what happens when you attach it to the structure Mr. paper pusher <-lowercase on purpose. Carpenter bees can and will burrow holes in that wood eventually. They will start at the fence then find a way to the structure. Once inside they can get into your load bearing walls. If severe, much like termite damage, they can affect the performance of the structure. So what is the solution? When you attach a wooden treated or untreated fence to any structure make sure you place aluminum flashing in between the fence and the structure. That way, once the bee hits the flashing it is game over. But what about moisture problems behind the flashing?!? Yep, you've introduced a new problem. You could seal the back with caulk or silicone or you could build from a builders perspective and build whichever way you think is best and not to appease some dude that shows up trespassing with a clipboard. How's that working for ya? In the lowest two pics, this fence was built with a fence post installed next to the structure and the wood was installed "hovering" over the structure allowing for an air gap and a stop for Mr Carpenter Bee. Solved!


Squeaky Steps
How do you correct them? Some say glue them down or add more screws. Recently I watched a video by The build show host Matt Risinger where they used spray foam on the underside of the staircase to lock everything in place. The squeak comes from the wood rubbing togethor and/or the nails/screws rubbing up against the wood when weight is applied. In this case the stairs were removed and the failed glue removed. We replaced it with thick carpet under-pad felt between the wood. This way the only rubbing that can occur is the screws in the wood. So far no squeaks. Only 20 years down the line until we know if this method truly did the trick...🧐


6 P's = Proper Prep Prevents Piss Poor Performance
Hurricane Testing
400 Years of American House Styles, All in One Infographic
From 17th century Post-medieval English abodes all the way to 1990s “McMansions," this detailed diagram of domiciles categorizes 121 American houses in all.
Mold Remediation
There are a couple of ways you can handle this
1: Rip it all out to the studs
2: Hire it out and pay your life savings, because God forbid we do anything ourselves anymore.
3: Burn it all down and start over (I wouldn't roast any hot dogs in that fire though)
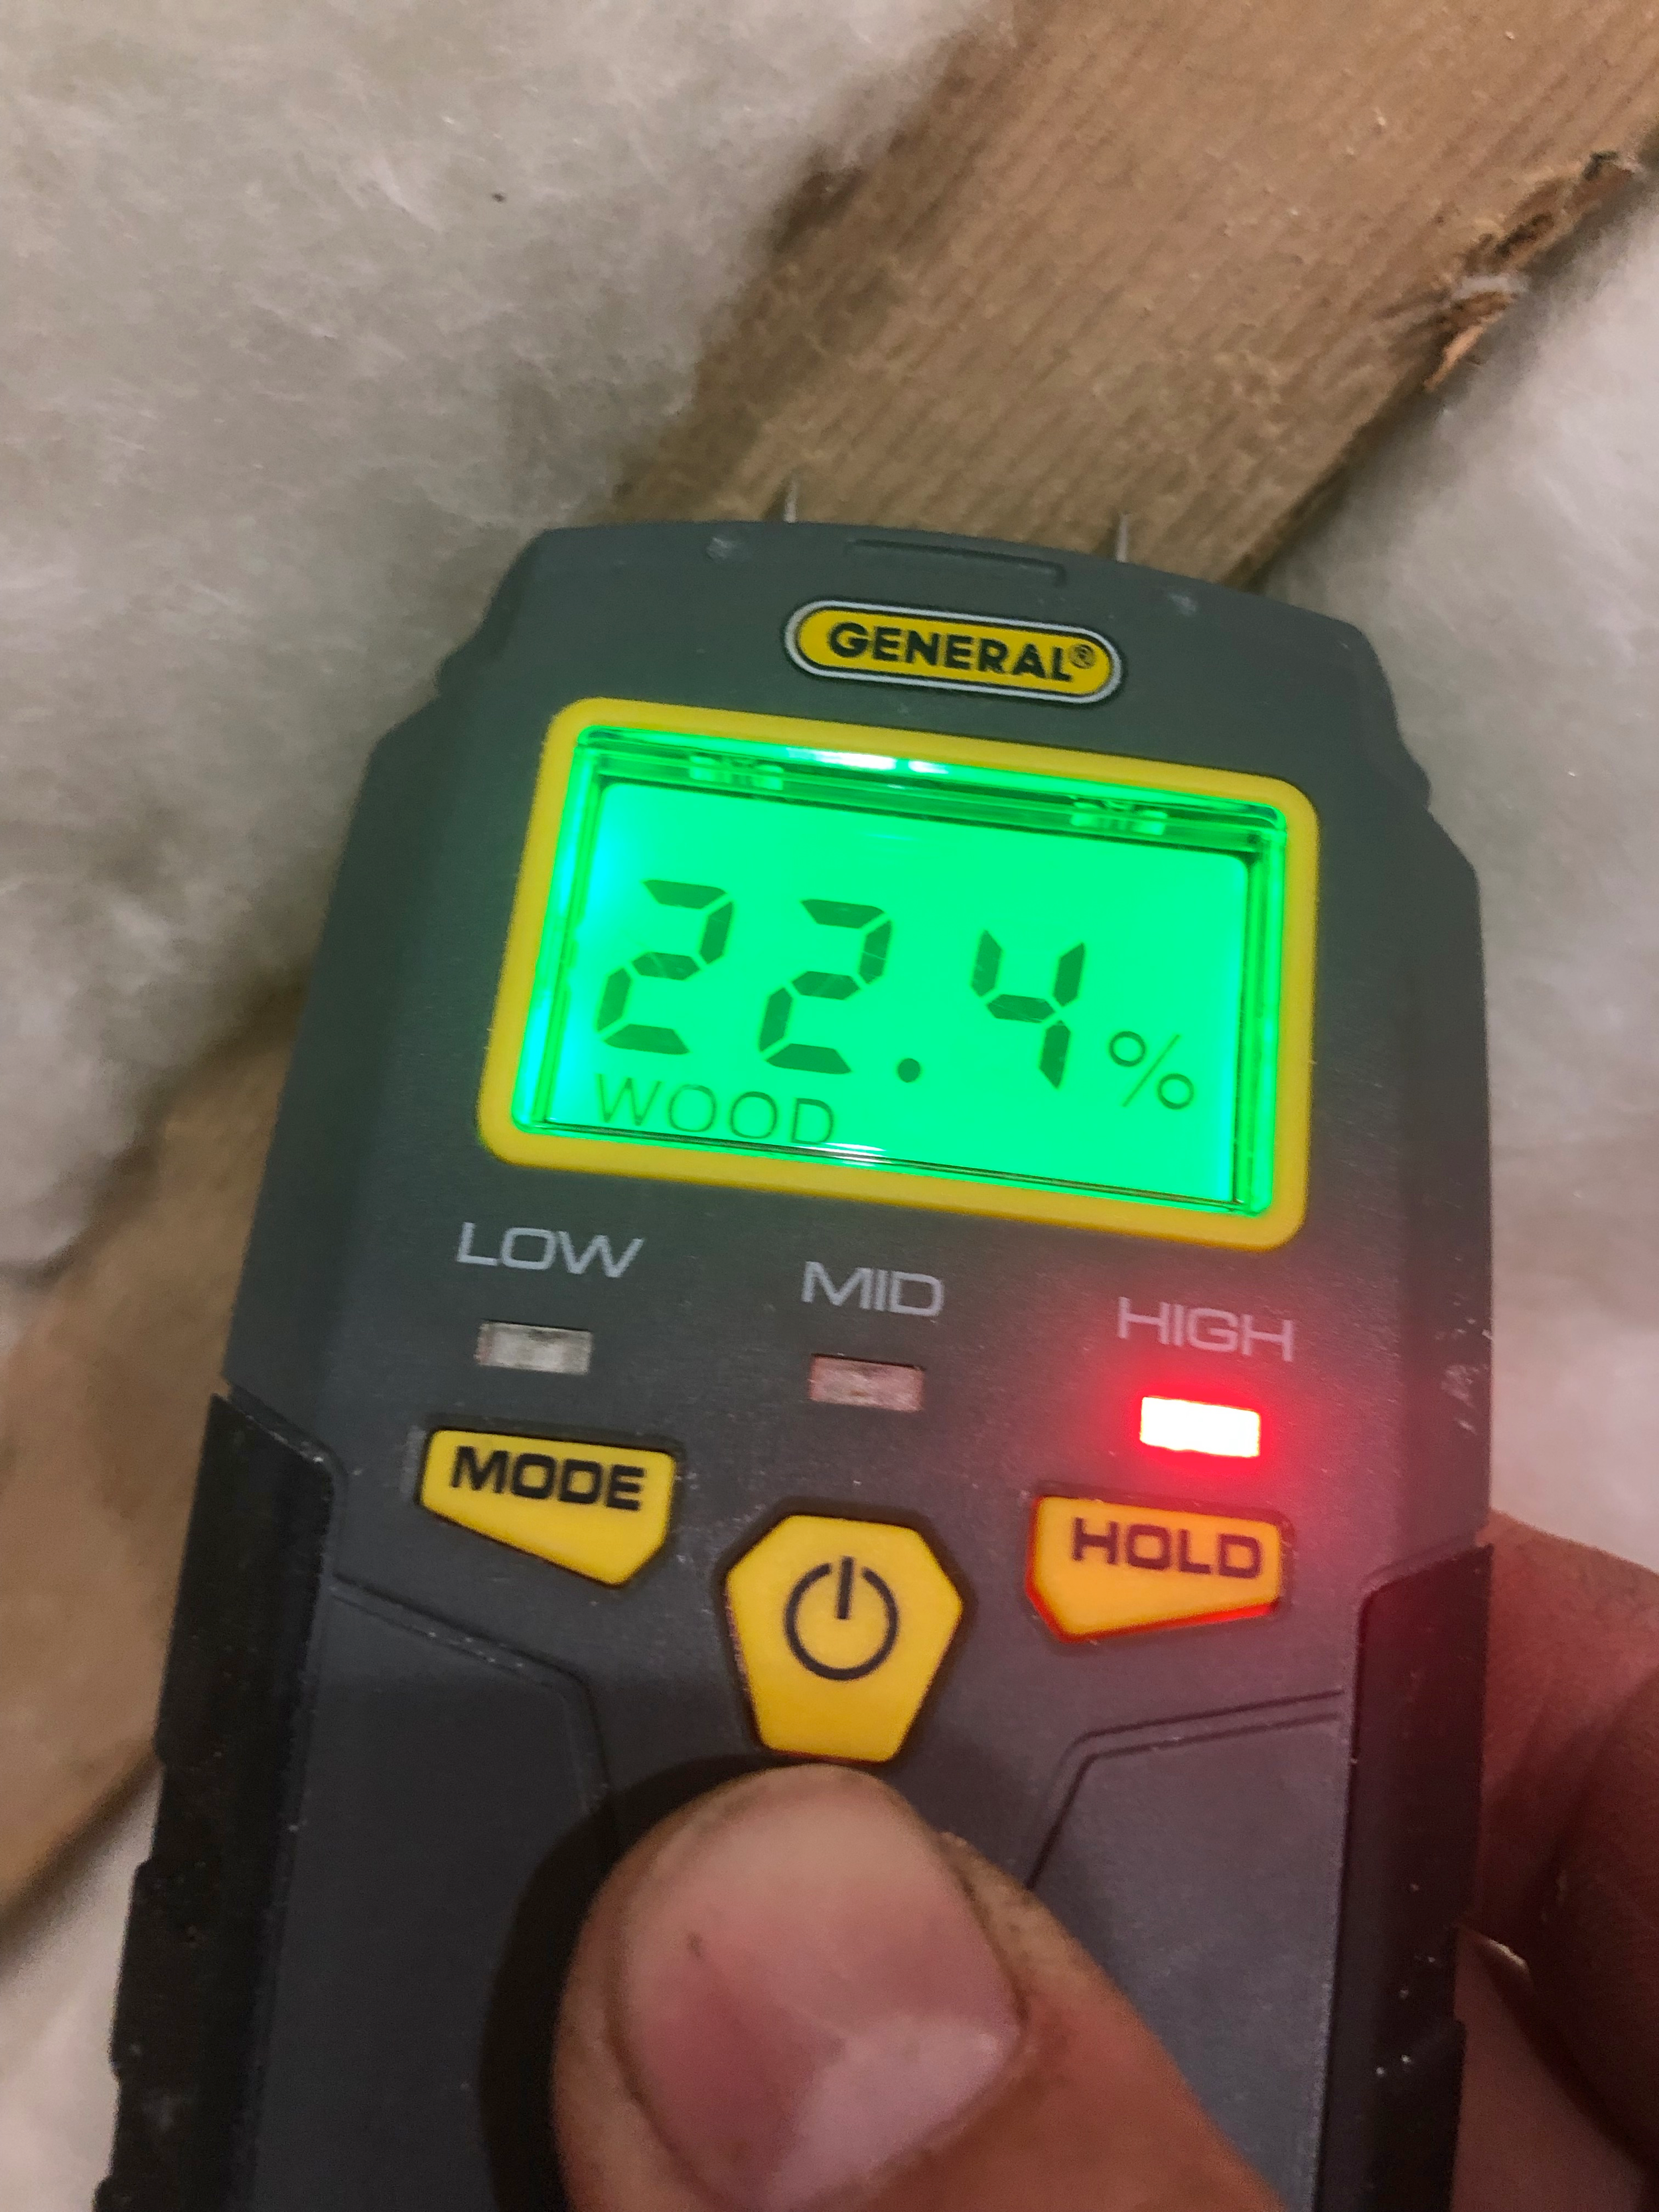
Option one is probably your best solution. Once you've got it all ripped out now you want to spray it down with stuff worse than acid..j/k...don't do that. Household bleach is not good enough. A good choice is outdoor 30 second cleaner at the big blue and orange stores. Once sprayed, Don't breath in those fumes! Next you want to dry everything out. If you don't dry it all out, when you build it back you might enclose moisture in certain areas that can't escape. Years later, you'll be back to square one. Steps on drying everything out? How do you know when its dry? A moisture meter is your best friend. It takes out the guess work. It will tell you if the moisture in materials is ok, mid level or too high. Also a Thermometer will tell you how much moisture is in your air. If you dry your materials out and there is no airflow it's all coming back. (Fun fact in our high humid environment: did you know that some old plantation builds used to plant trees in rows alongside towards the house in order to direct airflow through the home when windows and doors were open?) Fans and running the HVAC system can dry your place out but the best way is to buy a dehumidifier. It will collect water from the air and then you can dump it outside. Once your moisture meter checks ok everywhere than its time to start building it all back. Cheers!


Building in the land of the free is not something you ask permission for
FREE
adjective
1. Not under the control or in the power of another; able to act or be done as one wishes.
2. Not or no longer confined or imprisoned.
#Yourland #Yourway #GodisKing
Your Home Inspector Sucks and so do You!
What's that saying? Seeing is believing! Isn't that the truth when it comes time to purchase a property and you hired a home inspector to make sure everything is a-ok. He goes in with his tools and tape measure and piddles around for half the day. When he is all done he hands over a nice document with everything wrong with your potential purchase. Everything, right? Did he catch the 3rd layer of asbestos that couldn't be located? Did he catch the rat that chewed through the 8 gauge wire behind that wall where the copper wires are now touching? Did he make sure all the mechanical breakers are working? What about the nail that went through the "code approved" metal plate protecting that from happening and into the PVC pipe behind the wall? I think not. The home inspector can only do so much. He's not going to rip everything apart to find these issues. So don't blame him when YOU purchase a property that later on has some issues. YOU are the purchaser, grow some balls and fix the damn problem and quit blaming others for YOUR issues. We cannot all be skilled tradesman or brain surgeons for that matter, but when it comes time to hire an inspector if you so choose, find one that does things his way and not by the book, because if we all followed……nobody would LEAD!


Flickering Lights
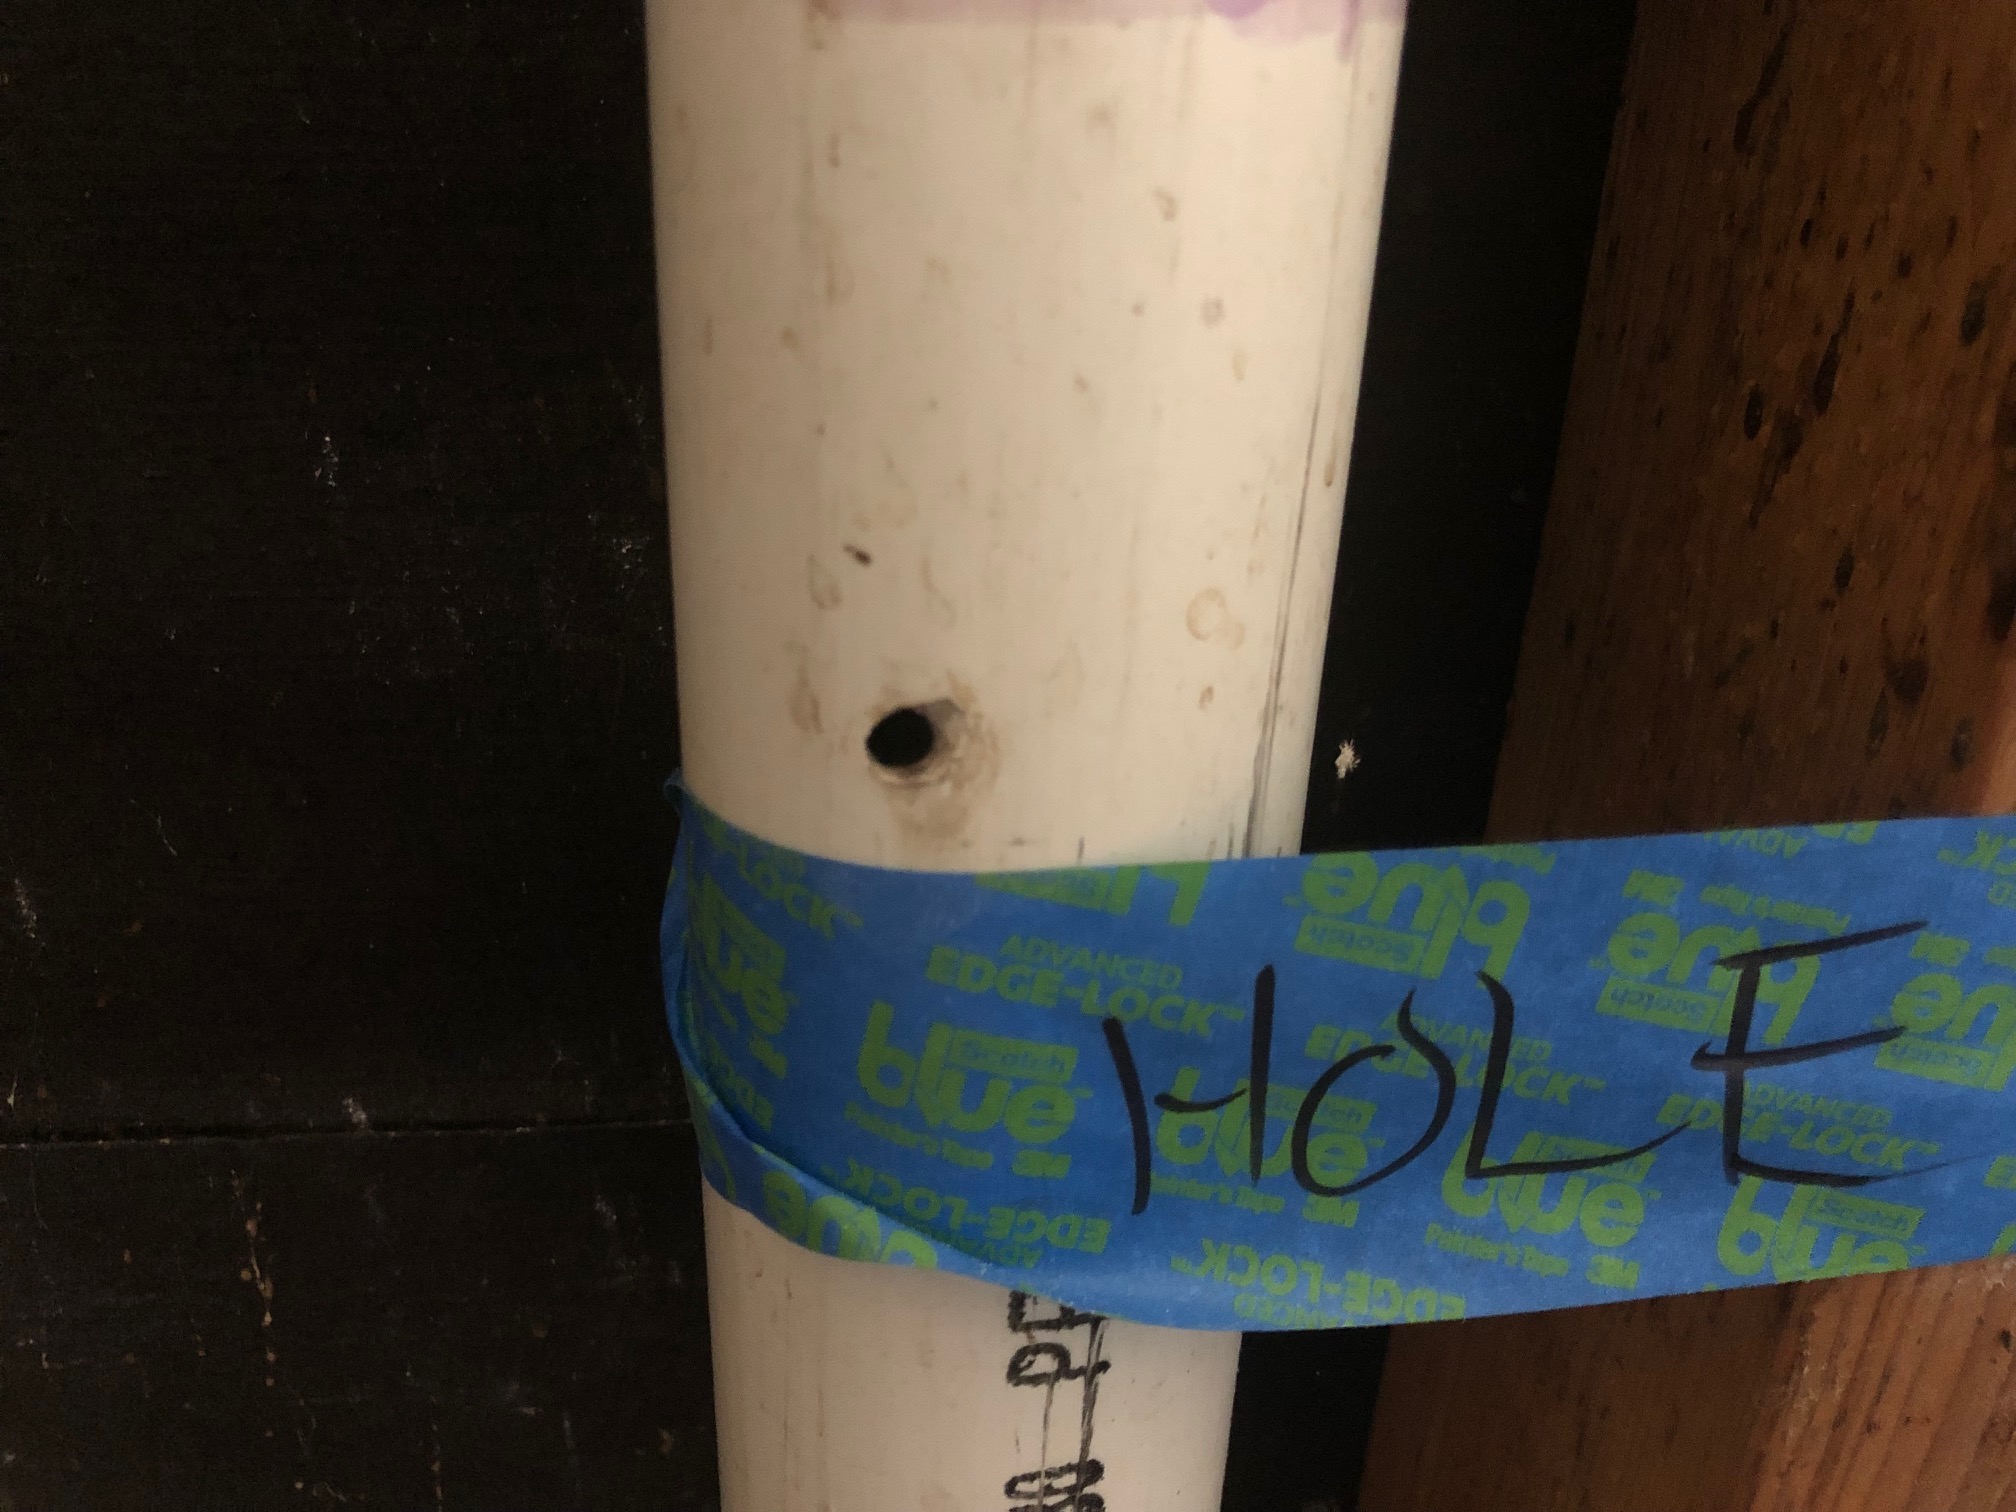
Finding electrical issues can be difficult. In this scenario we had flickering lights in random rooms at different times within a structure. It didn't seem to be any particular area in the house and the issue was occurring at random times. A multimeter was placed on the incoming wiring in the sub-panel and a Go pro sat recording the meter all day. We were able to playback the footage and see that major voltage changes were occurring. If the issue happened and nothing was picked up on playback then the issue would lie somewhere in the panel in itself (downstream away from test meter reading). Since we were able to capture the issue (When lights flickered 240v would change to 120v to the whole panel) we know the issue is coming from the main panel (upstream) next to the power company meter. Once the main panel was opened the breaker to the sub-panel was located, turned off and removed. Turns out there was a dead frog and lizard on the contacts. The contacts were cleaned with blasts of air and the dead creatures removed (Without touching ANYTHING METAL!). A new breaker was installed matching the model of the old. Problem found and corrected!


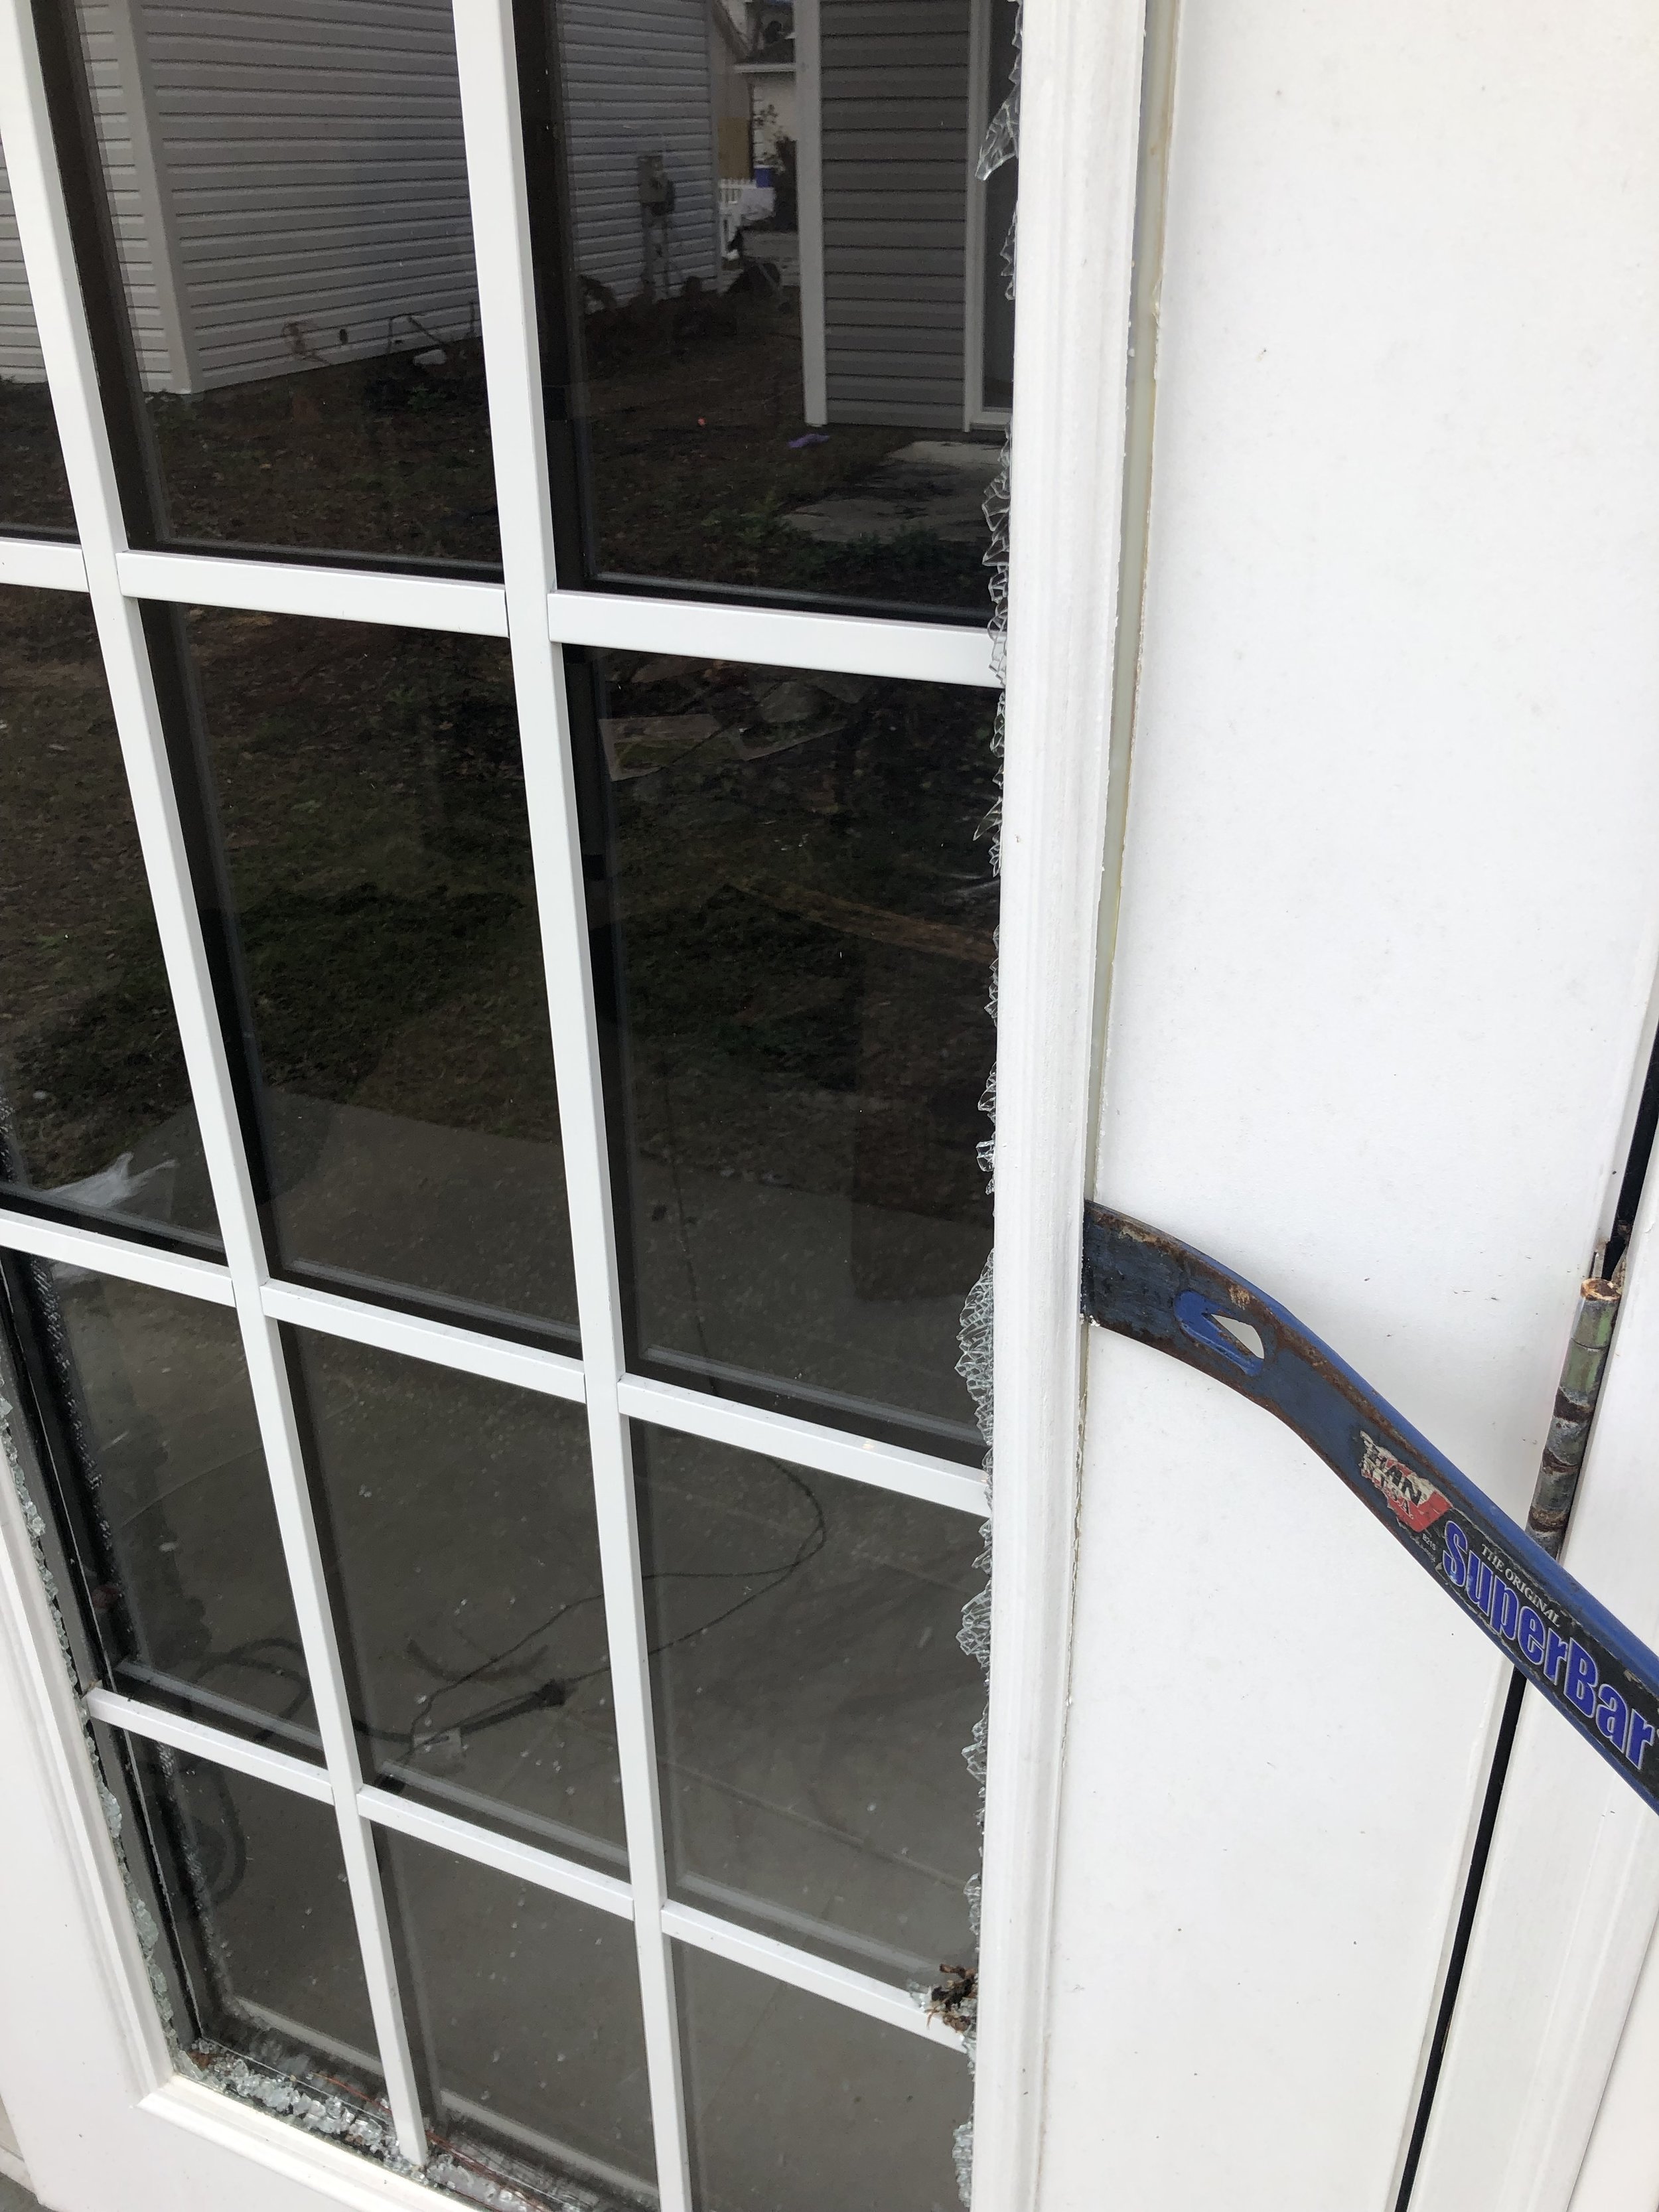
Glass door insert replacement
So you’ve got that window broken from Mr. Michael? No problem! Measure it out, then bring the measurement to your local hardware store so the order can be placed. They’ll ship you an exact replacement. All you do is drill out the plastic caps over screws on the interior plastic. Access the screws and unscrew. The interior plastic will pop off. The exterior has a sticky caulk pre applied so you’ll need to shim that off with a flat head screw driver or in this case we used a crow bar. The window will pop out. Back trace your steps to put the new one in. Boom! New Window!


Duplex Restore
UPDATE-Carrier Greenspeed VR 5-ton Heat Pump VS. Frigidaire 5-ton Heat Pump
Update on A/C monitoring. So far it is looking like average savings are $400-$500 / year. If the difference between any regular heat pump install and this install is 4k, then you will start to see a payback after 8-10 years. Is it worth it to you?

